APIs
Rimscout provides two distinct APIs: the Data API, which enables access to the client-collected data, and the Alerts API, allowing alert integration within monitoring systems. This page content focuses on the Data API. For information about the Alerts API, visit the documentation on Alerts.
Prerequisits
Authentication
To access the Data API and retrieve data of your tenant, you need to use authentication. The required token is provided at the APIs page under the Data API tab. This token must be included in the header of your requests using the X-Access-Token field.
Rate limits
The Data API enforces rate limits to ensure system stability. Be aware of these limits when querying the Data API:
- Maximum of 2.000 items in the result per API request (see pagination)
- A maximum of 60 requests per minute is allowed per tenant
- The timeout for API queries is set at 60 seconds
Info
If a timeout occurs, consider limiting the requested data by filtering for a specific time range, e.g. 3 days (see Query options).
Pagination
As the number of items per response is limited, you can use pagination to get all items matching your query. At the end of a result is a field named "@odata.nextLink". This field contains an URL that, when queried, retrieves the next set of items that match your query. If this field is absent in the result, it indicates that you have retrieved all items matching your query.
You can also perform manual pagination by utilizing the $skip and $top query options.
Querying data via oData
The Data API implements the Open Data Protocol (OData). This protocol defines a specific URL structure as well as a set of query string operators. Below are the available resource URLs, common query options and some example queries listed. For details visit the OData documentation.
Resource path
The API provides access to four different resources:
| Resource | Description |
|---|---|
| Clients | The list of all Rimscout clients in the tenant with their identity information. |
| SystemProfiles | All system profile data of all clients. |
| Tests | The list of all managed and custom tests with their parameters. |
| TestResults | The test results of all tests and clients. |
| Traceroutes | Trace route results of all tests and clients. |
Each path to the resources is a combination of the base URL of the API and the resource name. The base OData URL:
Example: Get the first 30 entries of the Clients resource:
Response format
The returned result of the API is a list of items matching the query.
By default, this list is in JSON format.
To change the format, e.g. to XML, you can specify it by using the Accept header in the query.
Query options
Query options can be used to filter, order or limit the returned data. The most common query options defined by OData are listed below. For more details visit the OData documentation.
Info
To get an overview of all fields and properties of the resources you can query https://portal.rimscout.com/{tenant}/odata/$metadata/.
$select
The $select query option specifies the fields or properties you want to include in the response.
Example: Retrieve the ID and username of all clients.
$filter
The $filter query option lets you filter the data based on specific criteria. You can define conditions to include or exclude items from the result set using logical operators (e.g. ne for not equal or gt for greater than).
Example: Get all Testresults from the 03.10.2023:
https://portal.rimscout.com/{tenant}/odata/testresults?$filter=CollectDateTime gt 2023-10-03Z and CollectDateTime lt 2023-10-04Z
$top
The $top query option limits the number of entries returned in the response. It's useful for pagination and obtaining a specific number of items.
Example: Retrieve the first 10 test results:
$skip
The $skip query option allows you to skip a specified number of entries from the beginning of the result set. It's often used for paginating through large datasets.
Example: Retrieve the next ten test results starting from the 11th test result:
$orderby
The $orderby query option enables you to specify the order in which the results are sorted. You can sort data in ascending or descending order based on one or more properties.
Example: Retrieve system profile data sorted by time in descending order:
$count
The $count query option returns the total count of items in the result set. It's useful when you need to know the total number of records matching a filter.
Example: Get the number of clients of your tenant:
$expand
The $expand query option is used to include related entities in the response. It allows you to navigate and retrieve data from linked resources.
Example: Include the names of the locations for the systemprofile results where the location is not the default location (NULL):
https://portal.rimscout.com/{tenant}/odata/systemprofiles?$expand=Location($select=Name)&$filter=LocationId ne null
$apply
The $apply function in OData allows you to perform various data transformations and aggregations. For details about its available operations and syntax read the documentation or view this blog for examples.
Example: Get the list of devices and the total number of clients that reported system profile data since 01.10.2023:
https://portal.rimscout.com/{tenant}/odata/systemprofiles?$apply=groupby((Client/ComputerName), aggregate(CollectDateTime with max as LastCollectDateTime))/filter(LastCollectDateTime gt 2023-10-01)&$count=true
current()
This function is exclusive to the SystemProfiles resource. It returns all the latest system profile entries of all clients.
PowerBI example
To create charts and reports in PowerBI using the OData API, you can use this PowerBI template.
- Download the template and open it with PowerBI.
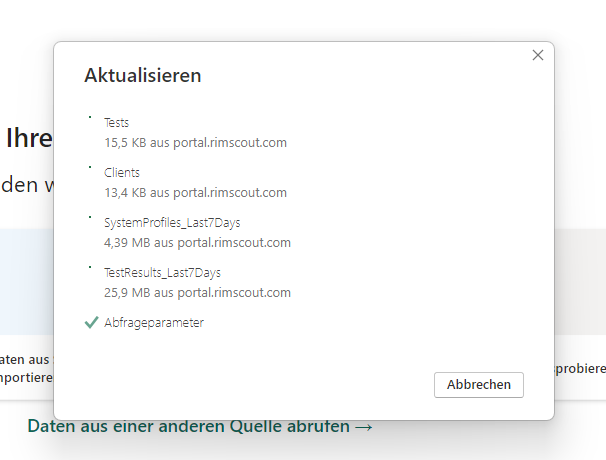
- Upon opening the template, a dialog will prompt you to enter values for base URL and access token. These can be found on the APIs page within the Rimscout portal, specifically in the Data API tab. For the requested client ID, you can start with "1".
- Allow some time for the data to load from the Rimscout API. Once this process is complete, you can utilize the loaded data to create your resources. Each existing resource is included as at least one source.
- If needed, you can view and modify the queries to the Rimscout API by right-clicking on a data source on the right and selecting "Edit"-entry from the menu.
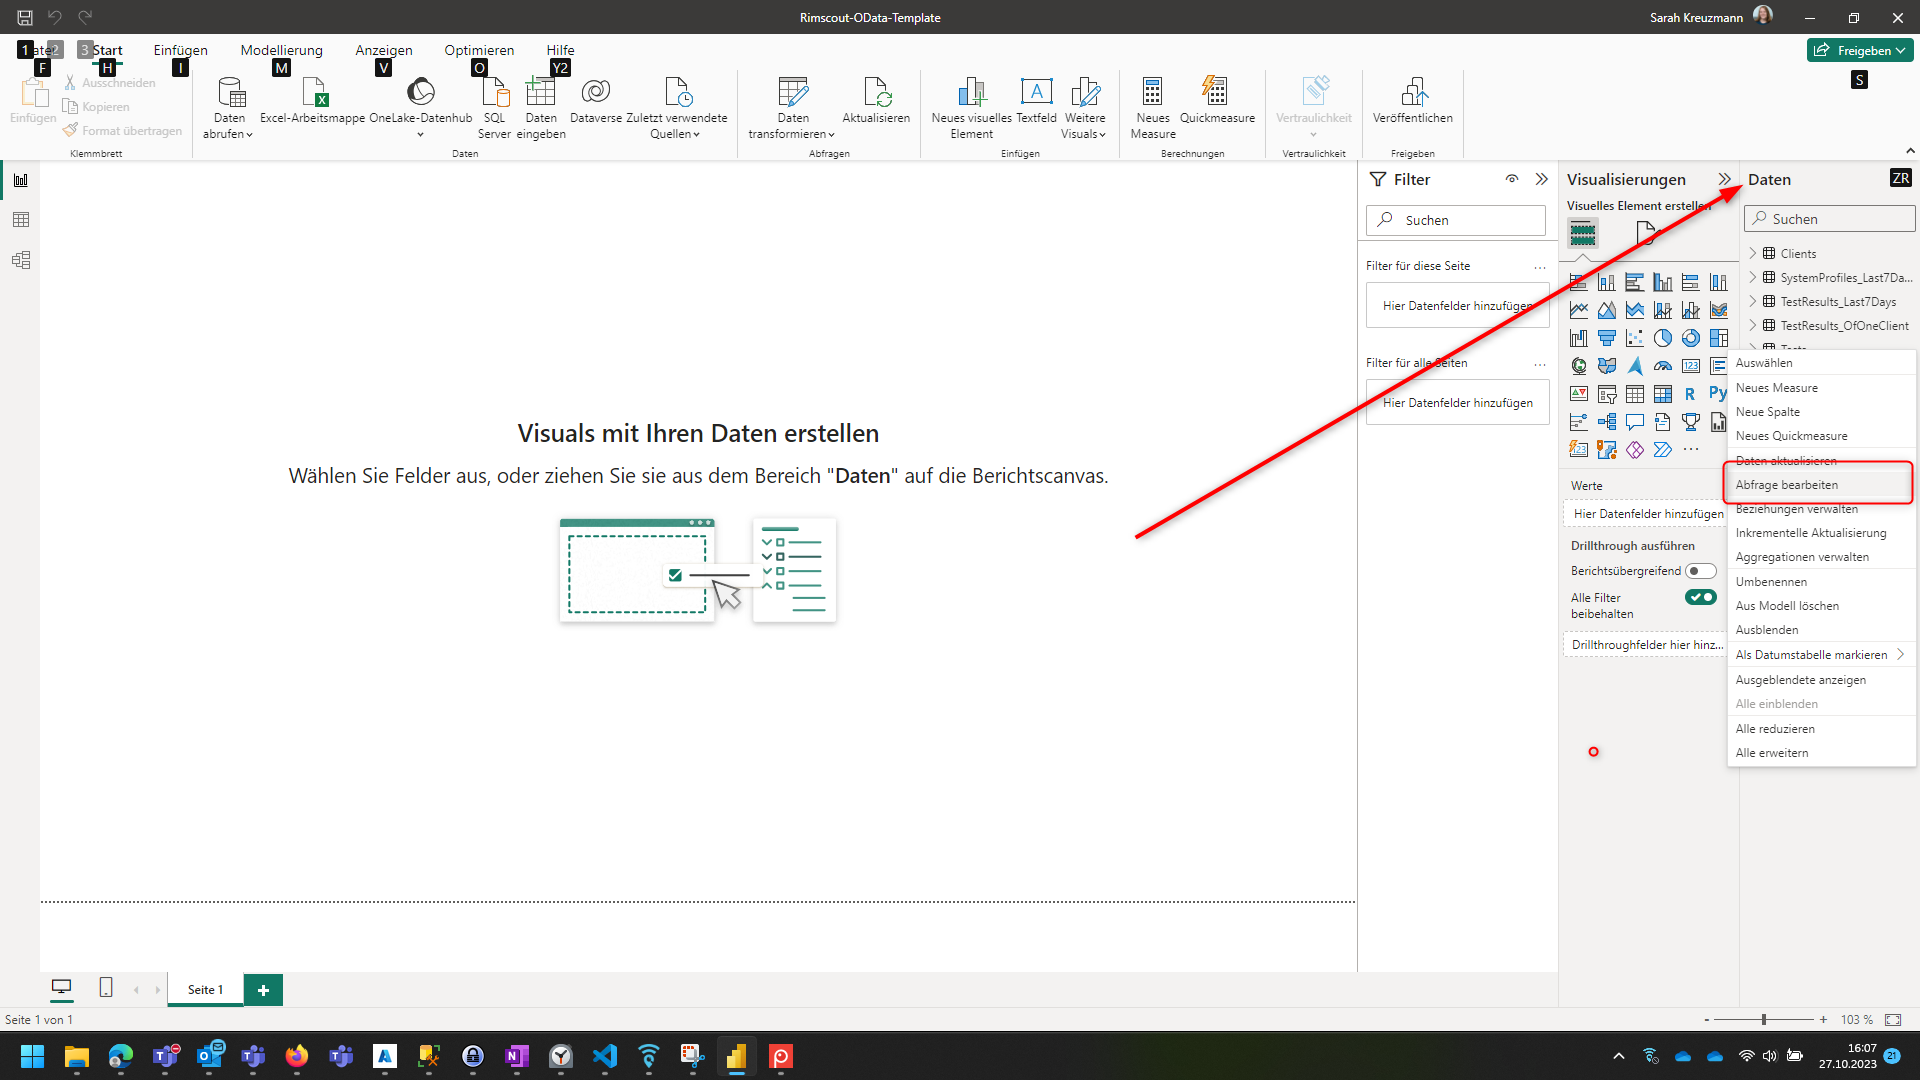
- Now you can build charts and reports based on the data collected by your Rimscout clients.