Install the client
Rimscout consists of two components: the client and the portal. The Rimscout clients are installed on user devices where they perform network connection tests and collect network environment data. This data is sent to the portal where the information can be analyzed.
This section covers the steps necessary for the manual installation of your first client.
Installation requirements
First, verify that all system requirements are met. Also allow Rimscout to query the endpoints listed below to function properly.
System requirements
- Windows 7 or higher
- 64-bit system architecture
Main endpoints
The listed endpoints are needed for data synchronization and updates.
Uploading connectivity data to the Rimscout backend:
Important
There may not be any SSL inspection (e.g. by a firewall) for packets going to iot-rimscout-clients.azure-devices.net.
The connection to that host also ignores any configured system proxy.
Registration and uploading system profile data:
Automatically updating the client: Downloading the client configuration:Data endpoints
These endpoints are queried by the client to obtain connectivity and network environment information. If these endpoints are blocked, the client will still work. However, some information can't be provided then.
Detecting the public IP address:
Measuring the latency to the internet provider and MS Connect endpoint: To check if SSL inspection is done in general (therefore this endpoint should be reachable, but besides this not bypassed anywhere):Info
In general Rimscout measures the latency to the first hops of the network using ICMP packets (pings). Therefore, it is recommended to allow ICMP requests.
Download and install the client
The Rimscout client installs itself when it runs for the first time.
- Go to https://www.rimscout.com/download/ to get the current Rimscout client version.
- Click on
Downloadand save theRimscout.zipfile. - Go to your download folder and unzip the file.
- Double-click the
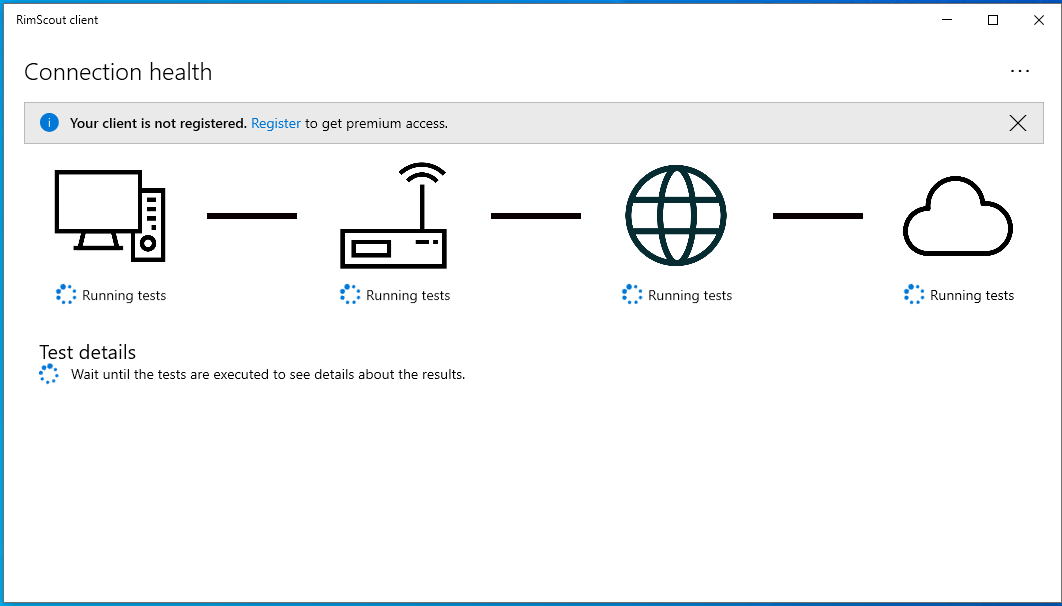
RimScout.exefile in the unzippedRimScoutfolder to start the client. - Wait until the client status screen will pop up. This might take a moment as the client will install itself.
If the client UI looks similar to the one below you successfully installed the client.
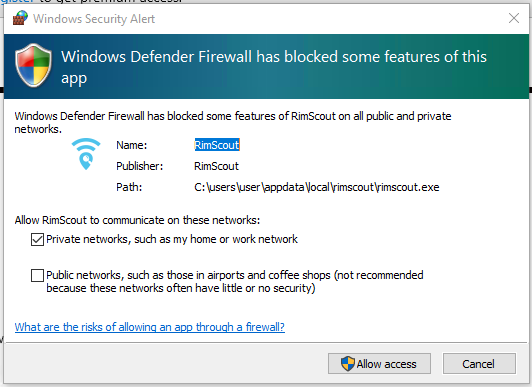
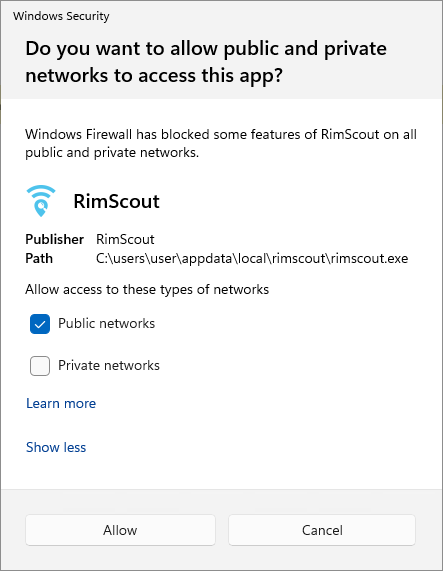
Handle the firewall notification
A firewall notification for Rimscout might show up. Simply click on cancel as it doesn't matter whether this firewall features are allowed or not.
Handle endpoint protection issues
When using an endpoint protection software besides Windows Defender, you might receive a notification during Rimscout installation because it's unrecognized. To resolve this, add an exception or contact your endpoint protection provider.
Register the client
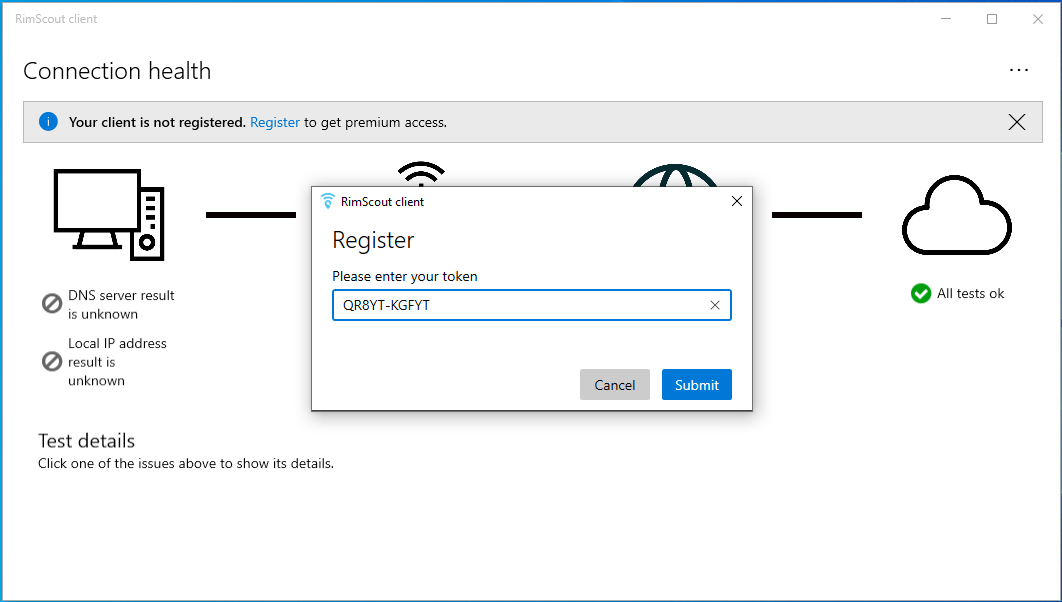
After the installation, a notification will appear indicating that your client is unregistered. Registration is necessary to link the client to your tenant and enable data upload.
To manually register your client
- Click on the
Registerlink in the notification. - In the Register dialog input the auto-generated token that is provided on the portal landing page.
- Hit
Submitand wait until the client is successfully registered.
For more details on client registration visit the Client tokens section.
Verify the setup
If your client(s) are installed and registered you should see them in the Rimscout portal.
- Open the Rimscout portal and navigate to Analyze > Clients.
- Check if your client's device name appears in the list. It might take some minutes until a newly registered client appears.
- If yes, click on Details and verify that the client reports data. The diagrams shouldn't show the message "No data present for the selected period."